


Residential Fence Installation Timeline: What Homeowners Should Expect
Installing a new fence is one of the best ways to improve your home’s privacy, security, and curb appeal. Whether you’re replacing an old fence or adding one to a new property, understanding the installation timeline helps you prepare for each stage of the project. Working with an experienced residential fence company ensures the process stays on schedule, complies with local regulations, and delivers long-lasting results.
While every project is unique, most residential fence installations take anywhere from a few days to several weeks, depending on factors such as property size, fence material, permit requirements, weather conditions, and site preparation.
This guide walks you through each phase of the installation process so you know exactly what to expect from start to finish.
Typical Residential Fence Installation Timeline
Here’s a general overview of how long each stage usually takes.
| Installation Stage | Estimated Timeline |
| Initial Consultation | 1–3 Days |
| Site Measurement & Estimate | 1–2 Days |
| Design Approval | 1–7 Days |
| Permit Approval (if required) | 1–4 Weeks |
| Material Ordering | 1–3 Weeks |
| Utility Marking | 2–5 Business Days |
| Site Preparation | 1 Day |
| Fence Installation | 1–5 Days |
| Final Inspection & Cleanup | Same Day |
The overall timeline typically ranges from 2 to 6 weeks, although larger or more customized projects may take longer.
Step 1: Initial Consultation
The process begins with an on-site consultation.
During this visit, the contractor will:
- Discuss your goals
- Review your property layout
- Recommend suitable fencing materials
- Explain style options
- Identify any potential challenges
- Provide a preliminary estimate
This appointment usually takes between 30 minutes and two hours.
Step 2: Site Measurement and Property Evaluation
After the consultation, the contractor performs detailed measurements.
This includes:
- Measuring fence lines
- Checking slopes and elevation
- Identifying trees or landscaping obstacles
- Locating existing structures
- Reviewing access points
Accurate measurements ensure the materials are ordered correctly and help prevent unexpected delays during installation.
Step 3: Design Selection and Project Approval
Once measurements are complete, you’ll finalize the project details.
You’ll typically choose:
- Fence material
- Height
- Color
- Style
- Gate locations
- Decorative features
Popular residential fence materials include:
- Vinyl
- Wood
- Aluminum
- Chain link
- Composite
Custom designs may require additional planning before construction begins.
Step 4: Permits and HOA Approval
Many cities require permits before fence construction can begin.
If your neighborhood has a Homeowners Association (HOA), you’ll likely need approval for:
- Fence height
- Materials
- Colors
- Placement
Permit timelines vary by municipality.
Some are approved within a few days, while others may take several weeks.
Your fence contractor often handles the permitting process on your behalf.
Step 5: Material Ordering
Once approvals are complete, materials are ordered.
Lead times depend on:
- Fence type
- Manufacturer availability
- Custom colors
- Seasonal demand
Common stock materials often arrive within one week, while specialty products may require several weeks.
Step 6: Utility Locating
Before digging begins, underground utilities must be marked.
This step protects:
- Gas lines
- Water pipes
- Electrical cables
- Internet lines
- Sewer connections
Utility companies typically complete marking within a few business days.
Skipping this step can create serious safety hazards and costly repairs.
Step 7: Preparing the Property
Before installation day, homeowners should prepare the work area.
Helpful steps include:
- Removing lawn furniture
- Clearing toys and equipment
- Trimming overgrown vegetation
- Unlocking gates
- Keeping pets indoors
- Moving vehicles away from the work area
A clear workspace allows installers to work more efficiently.
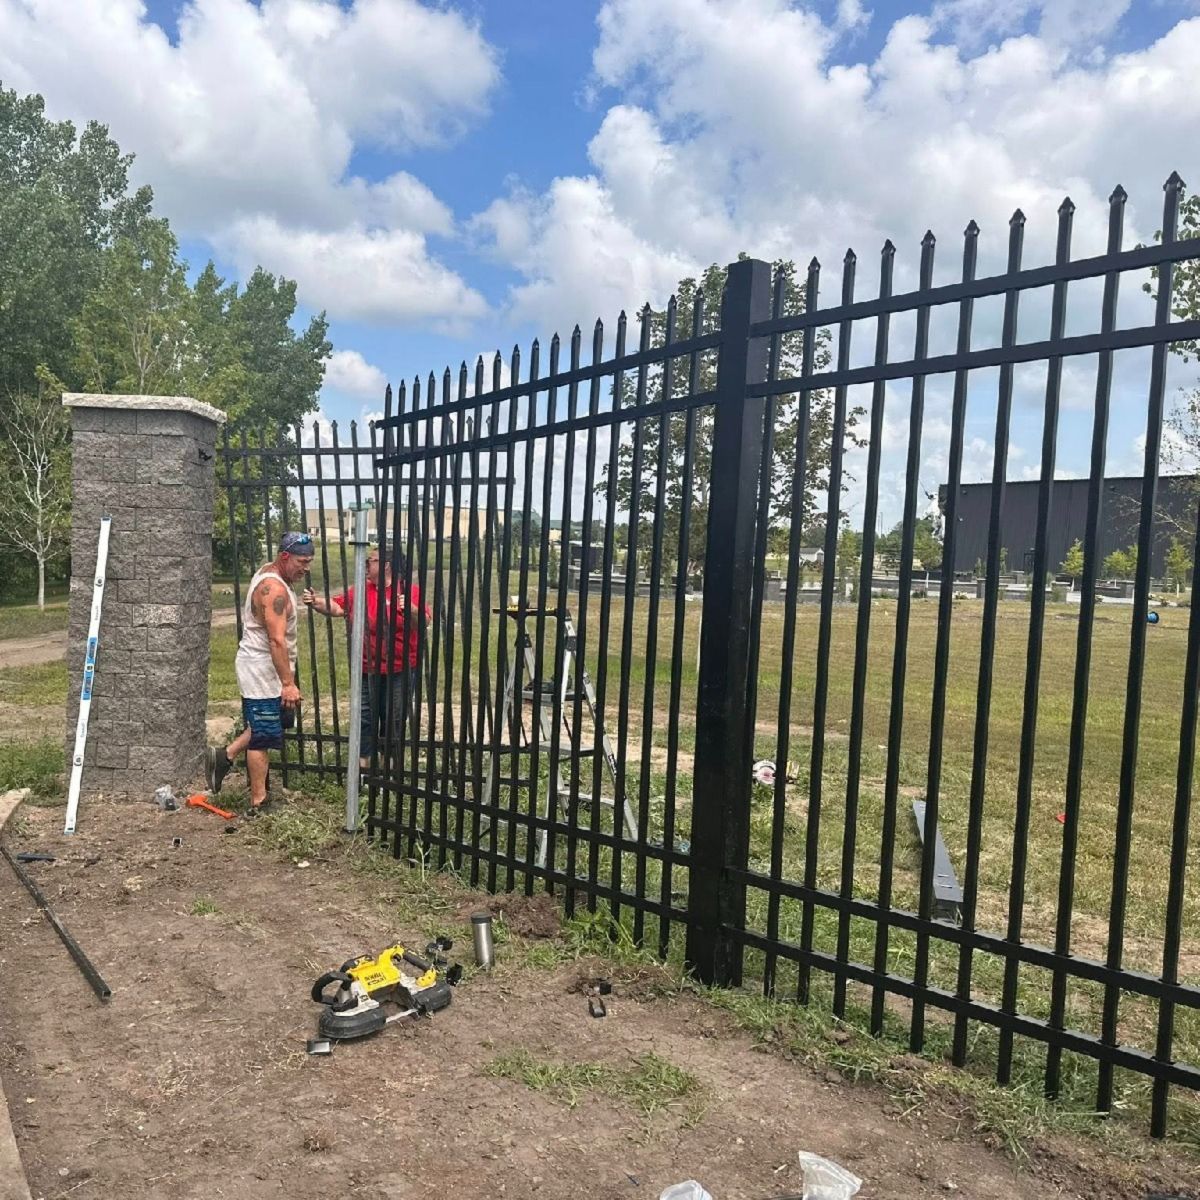
Step 8: Fence Installation
This is where your new fence begins to take shape.
The installation process generally includes:
Marking Fence Lines
The crew marks the exact fence layout according to the approved design.
Digging Post Holes
Fence posts are installed at precise intervals to ensure structural stability.
Hole depth depends on:
- Local frost line
- Soil conditions
- Fence height
- Material type
Setting Fence Posts
Posts are secured with concrete and carefully leveled.
Depending on weather conditions, concrete typically requires 24–48 hours to cure properly.
Installing Rails and Panels
Once the posts are stable, installers attach:
- Horizontal rails
- Fence panels
- Individual pickets
- Gates
- Decorative caps
This phase moves quickly once the framework is complete.
Step 9: Gate Installation
Gates require additional precision.
Installers ensure:
- Smooth operation
- Proper alignment
- Secure latching
- Correct spacing
- Long-term durability
Poorly installed gates often become the first component to fail, making careful installation essential.
Step 10: Final Inspection and Cleanup
After installation, the crew performs a complete walkthrough.
This includes:
- Checking alignment
- Inspecting gates
- Tightening hardware
- Cleaning debris
- Removing excess materials
- Confirming customer satisfaction
Many contractors also explain basic maintenance before completing the project.
Factors That Can Affect Your Installation Timeline
Several variables can extend or shorten the installation schedule.
Weather
Rain, snow, frozen ground, or high winds can temporarily delay construction.
Fence Material
Some materials install faster than others.
For example:
- Chain link often installs quickly.
- Vinyl panels install efficiently once posts are set.
- Wood fences require additional cutting and assembly.
- Custom ornamental aluminum fences may take longer.
Property Size
Larger properties naturally require:
- More materials
- Additional labor
- Longer installation times
Terrain
Rocky soil, steep slopes, tree roots, or uneven landscapes can slow excavation.
Custom Features
Additional elements such as:
- Double gates
- Decorative tops
- Retaining walls
- Automated gate systems
- Lighting
may extend the project timeline.
How Homeowners Can Help Keep the Project on Schedule
A few simple preparations can help avoid unnecessary delays.
- Confirm property lines before installation.
- Obtain HOA approvals early.
- Respond quickly to design questions.
- Keep the installation area accessible.
- Inform neighbors if the fence borders shared property.
- Remove obstacles before the crew arrives.
Good communication between homeowners and contractors keeps projects running smoothly.
Frequently Asked Questions
How long does residential fence installation usually take?
Most installations are completed within 2 to 6 weeks, including planning, permits, material delivery, and construction.
Can a fence be installed in one day?
Small residential fences on level ground may be completed in a single day. Larger or more complex projects generally require multiple days.
Do I need to be home during installation?
Not necessarily. Many contractors only require access to the property and occasional communication if questions arise.
What time of year is best for fence installation?
Spring, summer, and early fall are the busiest seasons. Scheduling during cooler months may offer faster availability and shorter lead times.
Will installation damage my landscaping?
Professional installers work carefully to minimize disruption. Some minor disturbance around post holes is normal, but reputable contractors make every effort to protect existing landscaping.
Final Thoughts
Understanding the residential fence installation timeline allows homeowners to plan with confidence and avoid unexpected surprises. From the initial consultation and permitting process to post installation and final inspection, every step contributes to a durable, attractive fence that enhances your property’s value and functionality.
Choosing an experienced contractor can make all the difference. SuperFenceCo works closely with homeowners throughout every stage of the project, providing expert guidance, quality craftsmanship, and clear communication to help ensure your residential fence installation is completed efficiently and built to last.